

Key Takeaways
Why Most Packing Goes Wrong
Most carry-on chaos doesn't happen at the airport - it happens three hours before departure when you're staring at a pile of clothes and can't remember whether your charger is already in the bag. The root cause is almost always the same: packing is treated as a one-off task instead of a repeatable system.
A system doesn't mean rigid minimalism or spending hours color-coding compression bags. It means doing the same things in the same order every time, so your brain isn't reinventing the wheel under pressure. When you have a pre-trip checklist running in the background, packing becomes the final, satisfying step - not the frantic one.
The method below works for weekend trips, week-long vacations, and business travel alike. Adjust the quantities; keep the structure.
What you will need
The Core Packing Method: Step by Step
Follow these steps in sequence each time you pack. The order matters: it ensures the things you need first are always on top, and the things you need least are buried at the bottom.
Build a destination-specific list before you touch the bag
Open a notes app or grab a piece of paper and write out every category relevant to your trip: clothing, toiletries, electronics, documents, medications, and any activity-specific gear. Then fill in quantities based on your actual itinerary - not your worst-case scenario. A four-night trip rarely needs seven outfits.
Cross-reference this list against your pre-departure safety checklist to make sure documents and health items are accounted for separately.
Lay everything out and do a ruthless edit
Place every item from your list on a flat surface. Now look at it honestly. Remove anything that covers the same function as another item. Consolidate: one versatile pair of shoes instead of three, one multi-use skincare product instead of four singles. The goal isn't to bring less - it's to bring only what earns its space.
Roll and load clothing into the bottom cube
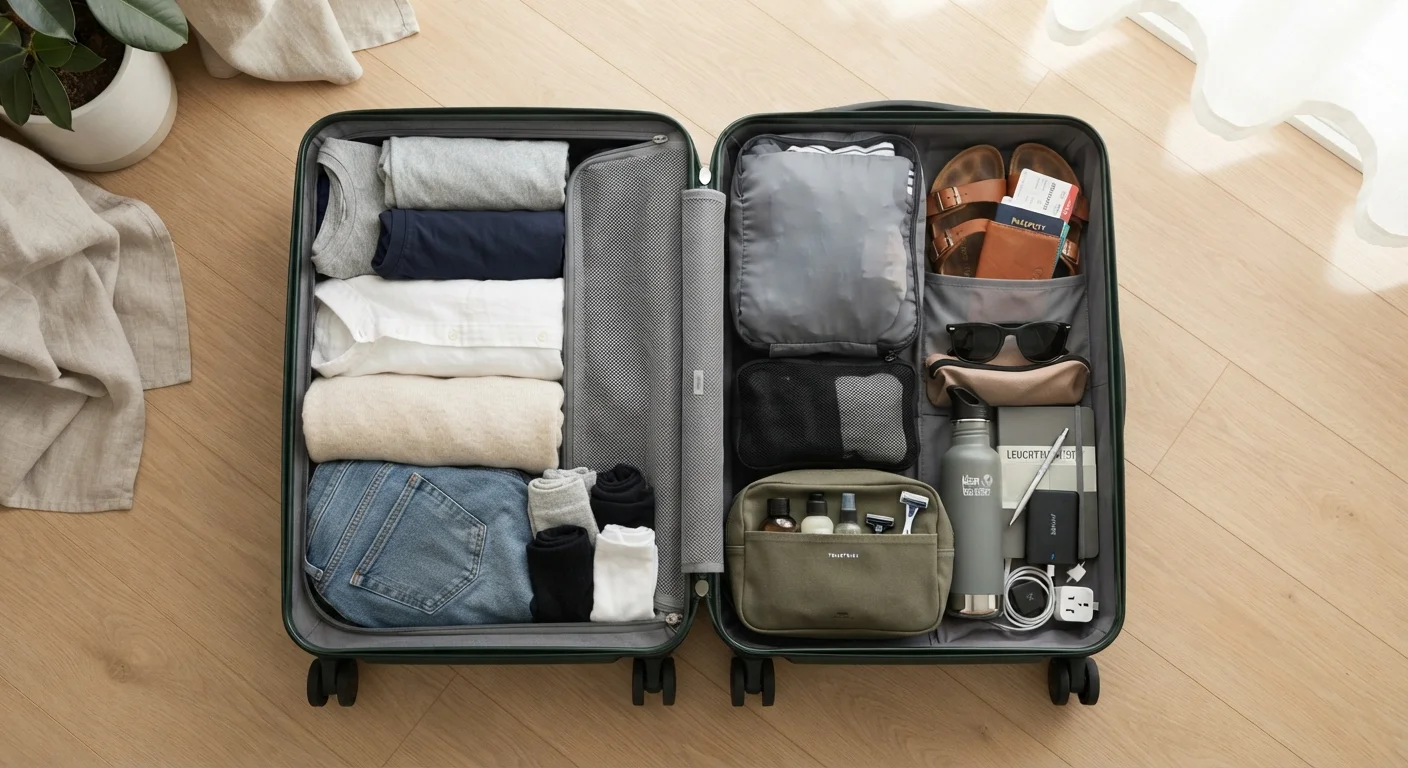
Roll each garment tightly from hem to collar - this reduces surface creases and allows more items per cube than flat folding. Pack heavier items like jeans and hoodies at the bottom of the cube, lighter fabrics on top. Load the clothing cube into the bottom of your carry-on, spine-side down, so it acts as a stable base layer.
Pack electronics and accessories into a mid-layer cube
Group all cables, chargers, a portable battery pack, earbuds, and adapters into a single electronics cube or pouch. Coil cables loosely and secure with velcro ties rather than tight rubber bands, which stress the cable insulation over time. Place this cube on top of the clothing layer.
Pack liquids and toiletries in the top or outer pocket
Transfer all liquids into containers of 3.4 oz (100ml) or less and place them inside your clear quart-sized bag. This is a TSA requirement for US domestic and most international flights - verify current rules with official government sources before international travel, as they can vary by country. Place the liquids bag in the outermost pocket or the very top of the main compartment for instant access at security.
Add documents and valuables last, in the most accessible spot
Your passport, boarding pass, travel insurance details, and any printed confirmations should be the final things you place in the bag - or, ideally, kept on your person in a travel wallet. If they go into the bag, they belong in a dedicated front pocket that you can open without disturbing any other layer. Zip up, do one final squeeze check to confirm the bag closes comfortably, and you're done.
Making It Work at the Airport
A well-packed carry-on should practically unpack itself at the security lane. Your liquids bag sits in the top pocket or outer compartment - grab it in one motion. Your laptop, if you carry one, lives in a dedicated sleeve near the back panel, easy to pull without disturbing everything else.
Think about where your valuables sit before you zip up. Passport, boarding pass, and any cash you'll need in the first few hours of travel should be in a body-worn pouch or the very top layer of your bag - never buried under clothing. Once you're through security, everything goes back to its designated spot immediately. That habit alone prevents the frantic mid-trip search that derails so many otherwise smooth journeys.
If you're weighing whether a carry-on is right for your trip at all, our breakdown of carry-on versus checked baggage covers the real trade-offs in time, fees, and flexibility.
Repack Immediately After Security
Once you're through the security checkpoint, resist the urge to just shove everything back in a rush. Taking 60 seconds to return each item to its designated spot means you'll arrive at your gate - and your destination - with your system still intact. This small habit pays dividends throughout the entire trip.
Adapting the System for Different Trip Types
The method stays the same; the contents shift. For a beach trip, the bulkiest item is usually a pair of sandals - pack those heel-to-toe along the bottom edge. For winter travel, layer a lightweight packable jacket around the interior perimeter to save cube space. Business travelers can swap one clothing cube for a dedicated tech cube holding cables, a portable battery, and adapters.
After your first few trips using this approach, you'll develop what experienced travelers call a personal packing template - a mental (or written) list of your exact go-to items organized by cube. At that point, packing for a five-day trip can genuinely take under 20 minutes. For the full picture of how to stay organized from planning through departure, explore our trip planning hub - it covers budgeting, booking, and everything in between.