

Key Takeaways
Start here
Building Your Starter Toolkit
Next
Key DIY Terms Every New Homeowner Should Know
Then
Safety Basics Before You Pick Up a Tool
When you're ready
First Projects That Build Real Confidence
Important boundary
When to Call a Professional Instead
Building Your Starter Toolkit
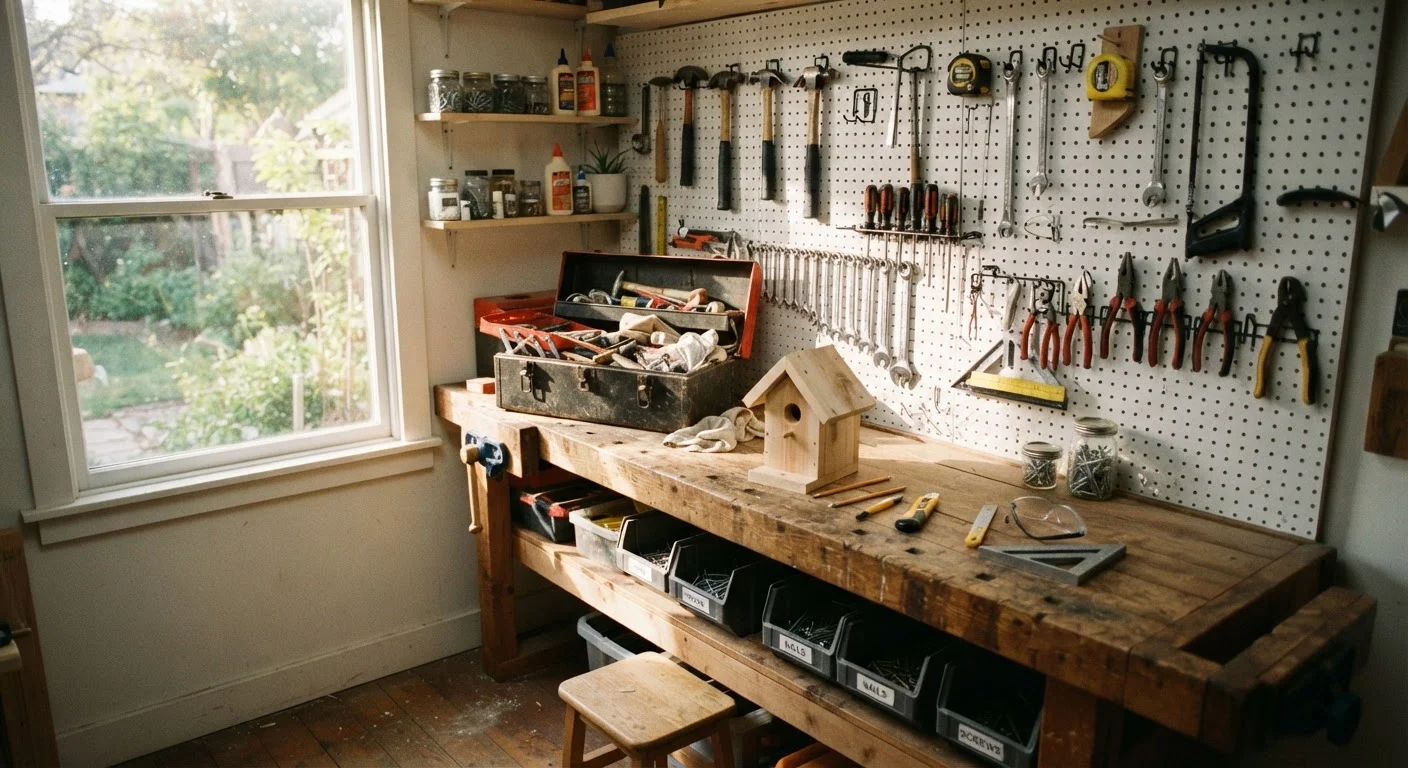
You don't need a garage full of equipment to handle most home repairs. A focused starter kit - assembled gradually - serves new homeowners far better than an impulsive bulk purchase. Begin with these essentials:
- Claw hammer - for driving and pulling nails
- Screwdriver set - Phillips and flathead in multiple sizes
- Cordless drill/driver - the single most versatile power tool for beginners
- 25-foot measuring tape - accuracy starts here
- 4-foot level - for anything that must be straight or plumb
- Utility knife - for scoring, cutting drywall, and trimming materials
- Adjustable wrench and slip-joint pliers - essential for minor plumbing fixes
Buy mid-grade tools from established categories rather than the cheapest option available. Poorly made tools strip screws, slip, and cause injury. You don't need premium contractor-grade equipment, but durability matters for tools you'll reach for repeatedly.
Store tools in a dedicated toolbox or cabinet - organized storage means you'll actually use what you have. As you take on new projects, add task-specific tools deliberately rather than speculatively.
Key DIY Terms Every New Homeowner Should Know
Reading project instructions confidently requires understanding the vocabulary. Misreading a term like "stud" or "plumb" mid-project can mean rework or wasted materials.
Stud
A vertical framing member inside a wall, typically wood or steel, that provides structural support. Anchoring heavy items to studs - rather than just drywall - is essential for secure mounting.
Plumb
Perfectly vertical, as verified with a level or plumb bob. A wall, post, or cabinet door that is plumb won't lean or shift over time.
Load-bearing wall
A wall that supports the weight of the structure above it and transfers that load to the foundation. Removing or altering one without professional guidance can compromise your home's structural integrity.
Caulk
A flexible sealant applied along joints and gaps to prevent water, air, and pests from passing through. It requires a clean, dry surface for proper adhesion.
Drywall (sheetrock)
Panels made of gypsum plaster sandwiched between paper sheets, used to form interior walls and ceilings. It is easy to damage but also straightforward to patch for small holes.
On center (OC)
A measurement from the center of one framing member to the center of the next. Most US homes use 16-inch on-center stud spacing, which helps you locate studs without a finder.
Whenever instructions reference load-bearing walls or structural elements, treat that as a signal to research further - or consult a professional - before proceeding. Terminology is the difference between a project done correctly and one that looks right but isn't.
Safety Basics Before You Pick Up a Tool
Most DIY injuries are preventable with straightforward preparation. Before beginning any project, make these habits automatic:
- Wear appropriate PPE. Safety glasses protect against flying debris from drilling and cutting. Gloves protect against cuts and splinters. An N95 dust mask is essential when sanding drywall or cutting wood indoors.
- Locate utilities first. Before drilling into any wall, use an inexpensive stud finder with AC wire detection to avoid hitting electrical cables. Know where your main water shutoff and electrical panel are before you need them in an emergency.
- Read instructions completely before starting. Scanning ahead reveals tool requirements, drying times, and sequencing - all of which affect whether a project succeeds.
- Work in good light. Poor visibility causes measurement errors and tool slips. Use a portable work light when natural light is insufficient.
- Use ladders correctly. Set them on stable, level ground; never stand on the top two rungs. See the full guidance on ladder safety for positioning and load principles.
Never Work on Live Electrical Circuits
Always switch off the relevant circuit breaker before touching any wiring - even to replace an outlet or light switch. Verify power is off with an inexpensive non-contact voltage tester before proceeding. If you are unsure which breaker controls the circuit, or if the panel is unlabeled, stop and consult a licensed electrician.
Keep a basic first aid kit accessible in your workspace. Cuts and abrasions are common even with care - having supplies nearby reduces response time if something does happen.
First Projects That Build Real Confidence
The best beginner projects are low-stakes, visibly rewarding, and teach skills that compound. Start with these:
- Painting a room. Prep work - patching nail holes, taping trim, priming - is what separates a professional result from an amateur one. Learn to cut in cleanly along edges before rolling the main field.
- Caulking windows, tubs, and door frames. Old or cracked caulk allows water intrusion and energy loss. Removing the old bead, cleaning the surface, and applying a smooth new bead takes under an hour and delivers immediate, practical results.
- Patching small drywall holes. Nail pops and small anchor holes are routine. A lightweight spackling compound, a putty knife, light sanding, and touch-up paint make them disappear.
- Replacing outlet covers and switch plates. A quick swap that updates a room's look and takes minutes with a screwdriver.
Document your projects with photos before, during, and after - this helps you track learning, troubleshoot next time, and builds a maintenance record that's useful if you ever sell. When you're ready to take on bigger scope, the complete guide to home renovation planning walks through budgeting, permits, and managing tradespeople.
Track Your Home's Maintenance History
Start a simple digital folder or notebook logging every repair, replacement, and update you make - including dates, materials used, and any product model numbers. This record saves time troubleshooting future issues and is genuinely valuable documentation when you sell. Pair it with a seasonal maintenance checklist to build a proactive routine.
When to Call a Professional Instead
Knowing your limits is itself a core homeowner skill - and it protects both your safety and your home's value. Always hire a licensed professional for:
- Electrical panel work, new circuit installation, or anything involving the main service entrance
- Gas line connections or appliance installations requiring gas piping
- Load-bearing wall modifications or any structural change
- Roof replacement or major structural roofing work
- Main plumbing connections - tying into supply or drain lines within walls
Many of these tasks also require permits and inspections in most US jurisdictions. Unpermitted work can affect your homeowner's insurance, complicate a future sale, and create genuine safety hazards. Before any significant project, review what homeowners need to know about building permits and verify requirements with your local building department.
It's also worth separating fact from popular myth before you start. Home improvement myths that cost homeowners time and money covers common misconceptions that lead to wasted effort and unnecessary expense.
Budgeting realistically for both DIY supplies and professional work is part of smart homeownership. If you're new to managing those costs, building a personal budget from the ground up provides a practical starting framework.