

Key Takeaways
Why These Checks Matter
Modern vehicles are engineered to tight tolerances, and the fluids circulating through them are what keep metal components from grinding, overheating, or failing outright. Engine oil lubricates moving parts, coolant regulates temperature, brake fluid transmits hydraulic pressure, and washer fluid keeps your view clear. None of these require a mechanic's training to check - they require only a few minutes and a little knowledge.
Catching a fluid problem early is almost always cheaper and safer than responding to one after it causes a breakdown. A car with critically low oil may suffer irreversible engine damage within minutes of running. Low brake fluid could indicate a compromised braking system - a direct safety concern. These are not hypothetical risks; they're documented causes of real failures that routine checks can prevent.
If you find yourself unsure about common car maintenance myths, know that fluid checks are one area where the conventional wisdom is straightforwardly correct: check often, top up when needed, and investigate anything unusual.
What you will need
What You'll Need
No specialized equipment is required for any of the checks in this guide. The items listed below are either already in most households or available inexpensively at any auto parts store. Your owner's manual is the most important resource - it tells you where to find each reservoir and what specification of fluid to use for your specific vehicle.
Clean lint-free rag or paper towels
Wipe the oil dipstick clean before taking a reading, and mop up any small spills.
Vehicle owner's manual
Identifies the correct fluid specifications and the exact location of each reservoir under the hood.
Flashlight or work light
Improves visibility inside the engine bay, especially in low-light conditions.
Funnel
Helps pour top-up fluid precisely into narrow reservoir openings without spilling.
Build It Into a Monthly Habit
Setting a recurring reminder - say, the first Sunday of each month - to run through these checks takes less time than a coffee break. Consistent monitoring means you catch small problems before they become expensive ones. Pairing fluid checks with a tire pressure check makes the habit even more worthwhile.
Step-by-Step Fluid Checks
Work through these checks in order. The whole routine should take between 10 and 20 minutes. Always start with the engine off and the vehicle parked on level ground.
Park on level ground and let the engine cool
Pull onto a flat, level surface and switch the engine off. For an accurate oil reading, the engine should be cold - ideally the car should have sat for at least 10 minutes. A hot engine can give a falsely low reading and risks burns when you open the hood. Leave the hood release for after the engine has settled.
Check the engine oil level
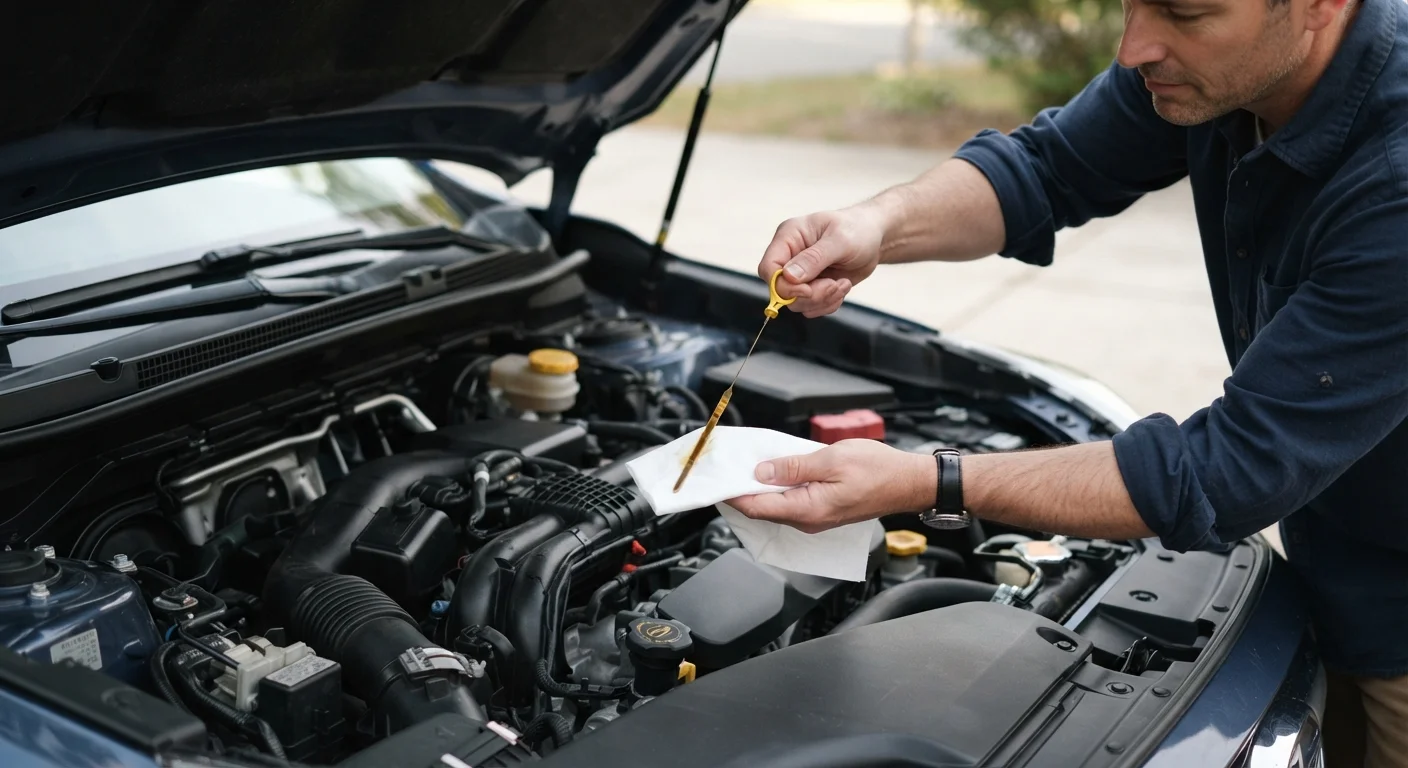
Open the hood and locate the oil dipstick - it typically has a brightly colored (yellow or orange) handle. Pull it out fully, wipe it clean with your rag, reinsert it all the way, then pull it out again. The oil should sit between the two marks (often labeled MIN and MAX). Note the color too: healthy oil ranges from golden-brown to dark brown. Black, gritty, or milky oil warrants a mechanic's inspection.
Inspect the engine coolant level
Locate the coolant reservoir - a translucent plastic tank usually marked with MIN and MAX lines on the outside, so you can read the level without opening it. The fluid should sit between those marks when cold. Coolant (also called antifreeze) is typically bright green, orange, or pink. A consistently dropping level may indicate a slow leak and should be investigated by a mechanic.
Check the brake fluid level
The brake fluid reservoir is a small, semi-transparent container located on top of the brake master cylinder, usually at the rear of the engine bay on the driver's side. You can read the level through the reservoir walls - it should be between the MIN and MAX markings. Brake fluid is typically clear to light yellow. Darker fluid or a level that keeps dropping suggests the fluid is old or there may be a system leak - either way, have a qualified mechanic assess it.
Top up the windshield washer fluid
The washer fluid reservoir is typically labeled with a windshield and spray symbol. Unscrew the cap and visually check the level. This is the one fluid you can top up safely at any temperature with the engine on or off. Use a purpose-made washer fluid rather than plain water, especially in winter - water alone can freeze in the lines and crack the reservoir.
Record what you found and address any concerns
Take a quick note of what you checked and whether anything needed topping up or looked unusual. If any fluid was significantly low, discolored, or has dropped again at your next check, schedule a visit to a qualified mechanic. Routine awareness of your vehicle's fluid levels is one of the simplest - and most effective - ways to avoid breakdowns.
When to Call a Mechanic Instead
Topping up fluids is a routine task, but investigating why a fluid is low is not always a DIY job. If brake fluid or coolant keeps dropping between checks, do not simply keep topping them up - persistent loss usually means a leak or internal fault that needs professional diagnosis. For guidance on what's genuinely safe to handle yourself, see our article on DIY car maintenance vs. taking it to a garage.
Keeping Your Fluid Checks in Context
Fluid checks are most valuable when they're part of a broader habit of vehicle awareness. Before any long trip, it's worth running through a more comprehensive pre-long drive checklist that also covers tires, lights, and belts. For everyday journeys, even a brief pre-trip safety walkthrough can catch problems before they become hazards on the road.
Think of fluid monitoring as one layer of a sensible maintenance routine - not a substitute for scheduled servicing, but a reliable early-warning system between professional visits. Drivers who stay observant tend to spend less on emergency repairs and more on planned maintenance, which is almost always less disruptive and less expensive.
Always Use the Correct Fluid Specification
Using the wrong oil viscosity, coolant type, or brake fluid grade can cause damage that voids manufacturer warranties and compromises vehicle safety. Your owner's manual lists exact specifications for every fluid - treat it as the final word, not the label on whatever's cheapest at the store.