

Key Takeaways
Why Caulking Deserves a Spot on Your Weekend List
Most home maintenance tasks require specialized skills, rented equipment, or a professional. Caulking demands almost none of that — and yet the payoff is disproportionately large. A failed seal along a bathtub edge can allow water to infiltrate the subfloor and wall cavity over months, leading to rot and mold that cost thousands to remediate. A drafty window frame caulked in an afternoon can meaningfully reduce heating and cooling losses throughout the year.
Caulking is also one of the few improvements with no real downside risk when done correctly. It doesn't require permits, doesn't alter your home's structure, and can be redone if needed. If you're new to maintaining a home, our first-time homeowner's DIY introduction covers the foundational tools and mindset that make projects like this approachable. And if caulking is part of a broader upkeep rhythm, the seasonal home maintenance checklist can help you stay ahead of problems before they escalate.
What you will need
What You'll Need Before You Start
Gather all your materials before beginning. Having everything on hand prevents the common mistake of rushing a step because you've run out of something mid-project. The tool list for caulking is short and inexpensive, and most items are reusable across many future projects.
Caulking Gun
Dispenses caulk from a tube at a controlled, even rate for a consistent bead.
Caulk Removal Tool or Utility Knife
Scores and lifts old caulk from joints without damaging surrounding surfaces.
Painter's Tape
Masks edges on both sides of the joint to produce a clean, straight caulk line.
Caulk Finishing Tool or Wet Finger
Smooths the freshly applied bead into the joint for a professional, watertight finish.
Rubbing Alcohol
Removes soap scum, grease, and residue so caulk bonds properly to the surface.
One common misconception worth addressing: many homeowners assume any existing caulk just needs a fresh layer applied on top. This rarely works — new caulk bonds poorly to old, degraded caulk. For context on other home improvement assumptions worth questioning, see our piece on home improvement myths that cost homeowners money.
Step-by-Step: How to Caulk Like a Pro
Follow these steps in order for each area you're tackling. Resist the temptation to skip surface preparation — it's the foundation of a result that holds up for years rather than months. Bathrooms especially reward patience: applying caulk to a damp surface is one of the most reliable ways to guarantee early failure.
Identify and prioritize your caulking locations
Walk through your home and note every joint where two different materials meet — bathtub edges, shower surrounds, window frames, exterior door frames, and baseboards near exterior walls. Pay particular attention to areas showing cracked, yellowed, or peeling caulk, or any dark discoloration that hints at moisture infiltration. Rank your list by urgency: wet areas like showers and tubs pose the greatest risk of water damage and should come first.
Select the right caulk for each area
Not all caulk is interchangeable. For showers, tubs, and areas with constant moisture exposure, use a 100% silicone or siliconized latex caulk labeled mold- and mildew-resistant. For interior window trim, baseboards, or areas you plan to paint, choose a paintable acrylic latex caulk, which cleans up with water and accepts paint once cured. For gaps around exterior windows and doors, look for a formulation rated for outdoor use and UV resistance. See our guide to grout vs. caulk to make sure you're using the right material at tile joints.
Remove all old caulk completely
Use a caulk removal tool, utility knife, or plastic scraper to cut and peel away every bit of existing caulk from the joint. Work slowly to avoid scratching tile, tub surrounds, or window frames. Once the bulk is removed, rub the joint with rubbing alcohol on a clean cloth to dissolve residue and adhesive film. Allow the surface to dry completely — rushing this step is the single most common reason new caulk fails prematurely.
Prepare the surface and apply painter's tape
Wipe down both surfaces bordering the joint with a mild detergent solution, rinse, and dry thoroughly. In bathrooms, surfaces must be completely dry — allow at least 24 hours after the last shower or bath if possible. Apply painter's tape along both edges of the joint, leaving the gap fully exposed. Straight tape lines are what separate a polished result from a messy one, so take your time aligning the tape parallel to the joint.
Cut the nozzle and load the caulking gun
Cut the caulk tube nozzle at a 45-degree angle — start with a small opening (about 3/16 inch) and widen only if your joint requires more material. A smaller opening gives you more control. Pierce the inner foil seal with the built-in pin or a long nail. Load the tube into the caulking gun by pulling back the plunger rod, inserting the tube, and pressing the rod forward until it seats against the tube base.
Apply a smooth, consistent bead
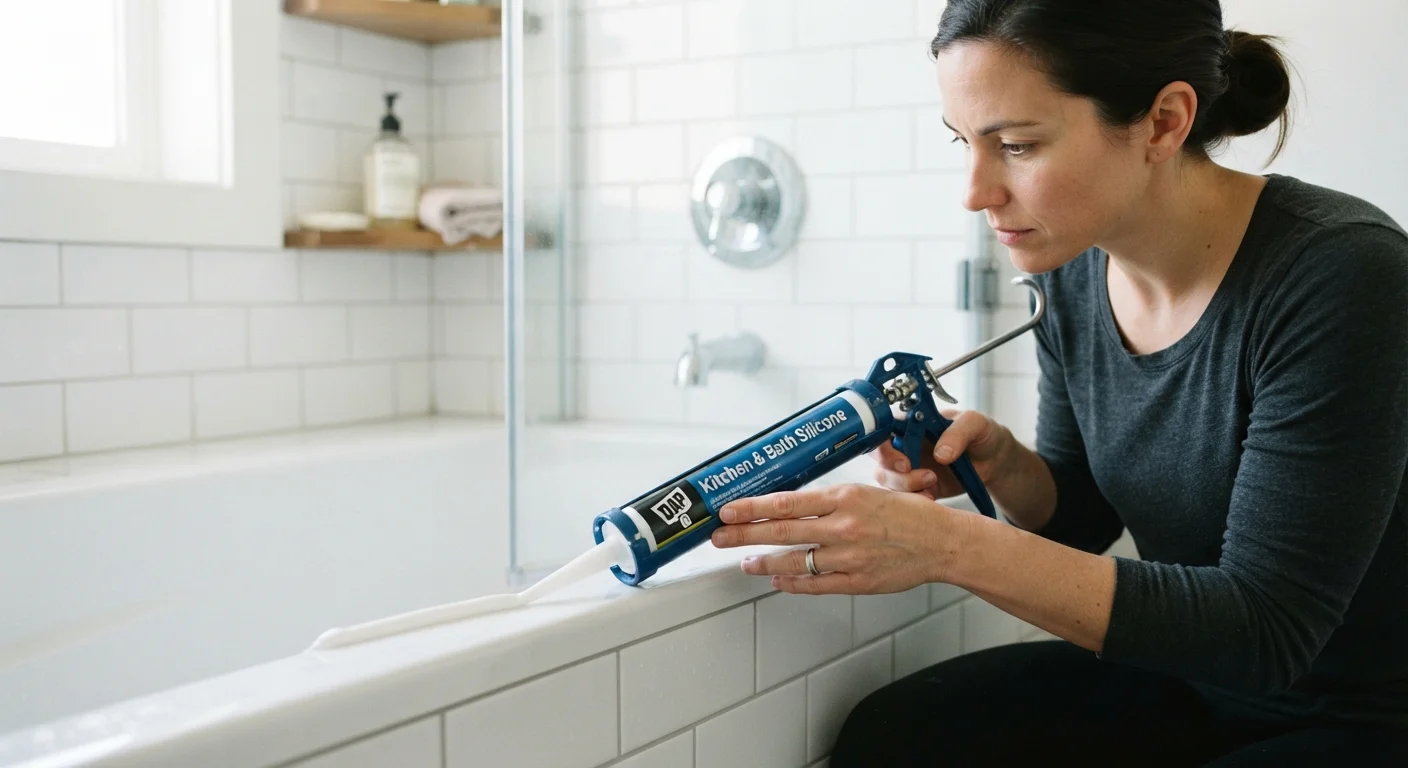
Hold the gun at a roughly 45-degree angle to the joint, nozzle pointing in the direction of travel. Squeeze the trigger steadily while moving the gun along the joint in one continuous motion — aim to complete each section without stopping. Apply consistent, light pressure; if the bead becomes uneven, slightly adjust your speed rather than your grip pressure. For longer joints like window frames, work in manageable segments.
Smooth the bead and remove the tape
Within a minute or two of application, wet your fingertip with water (for latex caulk) or rub a little dish soap on it (for silicone), then draw it firmly along the bead in one smooth pass to press the caulk into the joint and create a concave profile. Alternatively, use a caulk finishing tool. Immediately peel away the painter's tape at a 45-degree angle while the caulk is still wet for the cleanest edge. Allow the caulk to cure according to the manufacturer's instructions before exposing it to water — typically 24 hours for wet areas.
Caulking Pays for Itself Quickly
Sealing air leaks around windows and doors with caulk is consistently cited by energy efficiency organizations as one of the highest-return weatherization steps a homeowner can take. The materials cost a few dollars per tube, and the work requires no specialized skill. Even modest improvements in a home's air sealing can contribute to noticeable reductions in heating and cooling bills over time.
Once your bathroom caulk is refreshed, you may find other low-effort upgrades worth exploring. Our guide to small bathroom improvements that work covers additional changes that cost little but deliver real results.