

Key Takeaways
Peeling Paint Is a Symptom, Not Just a Cosmetic Problem
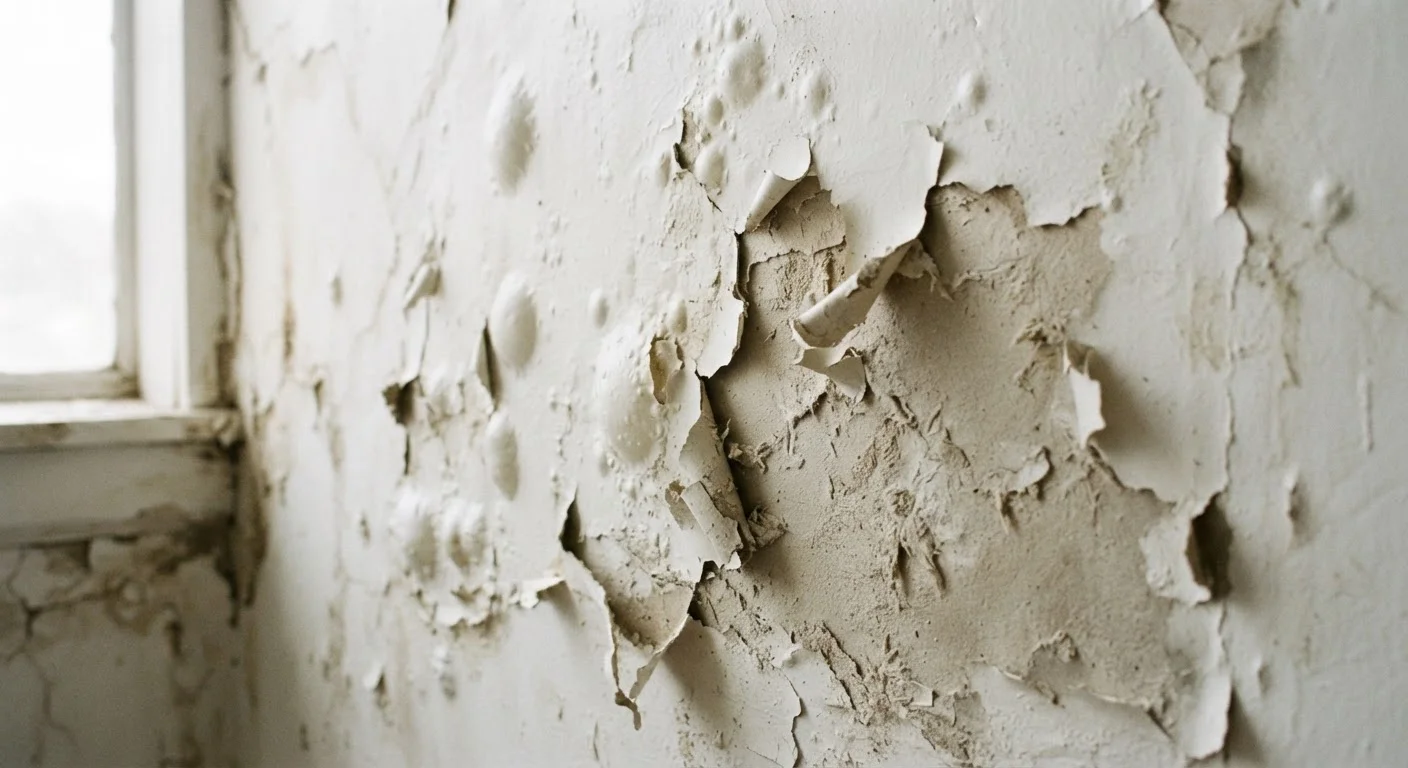
When paint starts to bubble, crack, or lift from a wall, many homeowners reach for a brush and paint over it. That instinct is understandable, but it rarely works. Peeling paint is almost always telling you something about the surface beneath it - and until you address that underlying issue, any new paint will eventually fail the same way.
The good news is that the most common causes of peeling are predictable and preventable. Understanding what went wrong is the fastest route to a lasting fix. Below, we break down the most frequent mistakes that lead to peeling walls, why they happen, and exactly what to do differently.
Painting over a damp or wet surface.
Why it happens: Homeowners often paint shortly after cleaning walls, after a bathroom repair, or in humid conditions without allowing adequate drying time.
Skipping or rushing the primer coat.
Why it happens: Primer adds time and cost to a project, so it's frequently omitted, especially when repainting a previously painted surface that looks fine.
Failing to clean and de-gloss the surface before painting.
Why it happens: A surface that looks clean may still carry grease, soap film, or dust - all of which prevent proper adhesion. Glossy finishes are also notorious for not holding new paint.
Applying paint too thickly in a single coat.
Why it happens: Thick coats seem like a time-saver, but paint that's applied too heavily can't release moisture evenly as it cures, leading to wrinkling, bubbling, and eventual peeling.
Ignoring an active moisture or ventilation problem.
Why it happens: Peeling in bathrooms, kitchens, or near windows is often treated as a paint problem when it's actually a plumbing, condensation, or airflow problem.
How to Repair Peeling Paint the Right Way
Once you've identified the cause of the peeling, the repair process follows a consistent sequence regardless of the specific trigger.
Homes Built Before 1978: Test for Lead Paint First
If your home was built before 1978, painted surfaces may contain lead-based paint. Scraping or sanding lead paint creates hazardous dust. Before beginning any repair work on older surfaces, purchase an EPA-recognized lead test kit or hire a certified lead inspector. The EPA's Renovation, Repair, and Painting (RRP) Rule sets legal requirements for disturbing lead paint in pre-1978 homes - consult your local guidelines before proceeding.
- Remove all loose paint. Use a flexible putty knife or scraper to lift every flaking section. Don't paint over anything that isn't fully adhered - it will re-peel.
- Sand the edges. Feather the border between bare wall and intact paint using medium-grit sandpaper (around 120-grit) so there's no hard ridge that shows through the topcoat.
- Address the moisture source. If moisture caused the peeling - common in bathrooms, kitchens, and around windows - fix the leak, improve ventilation, or apply a moisture-resistant primer before proceeding. Repainting without this step guarantees repeat failure.
- Apply an appropriate primer. Choose a primer rated for your specific surface and conditions. High-humidity areas benefit from stain-blocking, mold-resistant primers. Bare drywall needs a drywall primer. Previously glossy surfaces need a bonding primer.
- Repaint in compatible coats. Apply thin, even coats and allow full dry time between them. Consult the paint manufacturer's guidance on recoat windows - rushing this step is one of the most common causes of future peeling.
If you're uncertain whether you're using the right product for the location, see our guide on interior vs. exterior paint - using the wrong formulation is a surprisingly common and costly error.
Once your walls are properly repaired and primed, you may also want to revisit your color approach. Our overview of accent walls vs. full-room color can help you plan a result that's both durable and intentional.