

Key Takeaways
Why Container Herb Gardening Works So Well
Growing herbs in containers is one of the most accessible forms of gardening available to US homeowners and renters alike. Unlike traditional garden beds - which require significant space, soil preparation, and long-term commitment - a container herb setup can be started, moved, and adapted as your situation changes. If you've ever been curious about the differences between growing in containers versus dedicated garden plots, our article on raised beds vs. in-ground planting explores those trade-offs in depth.
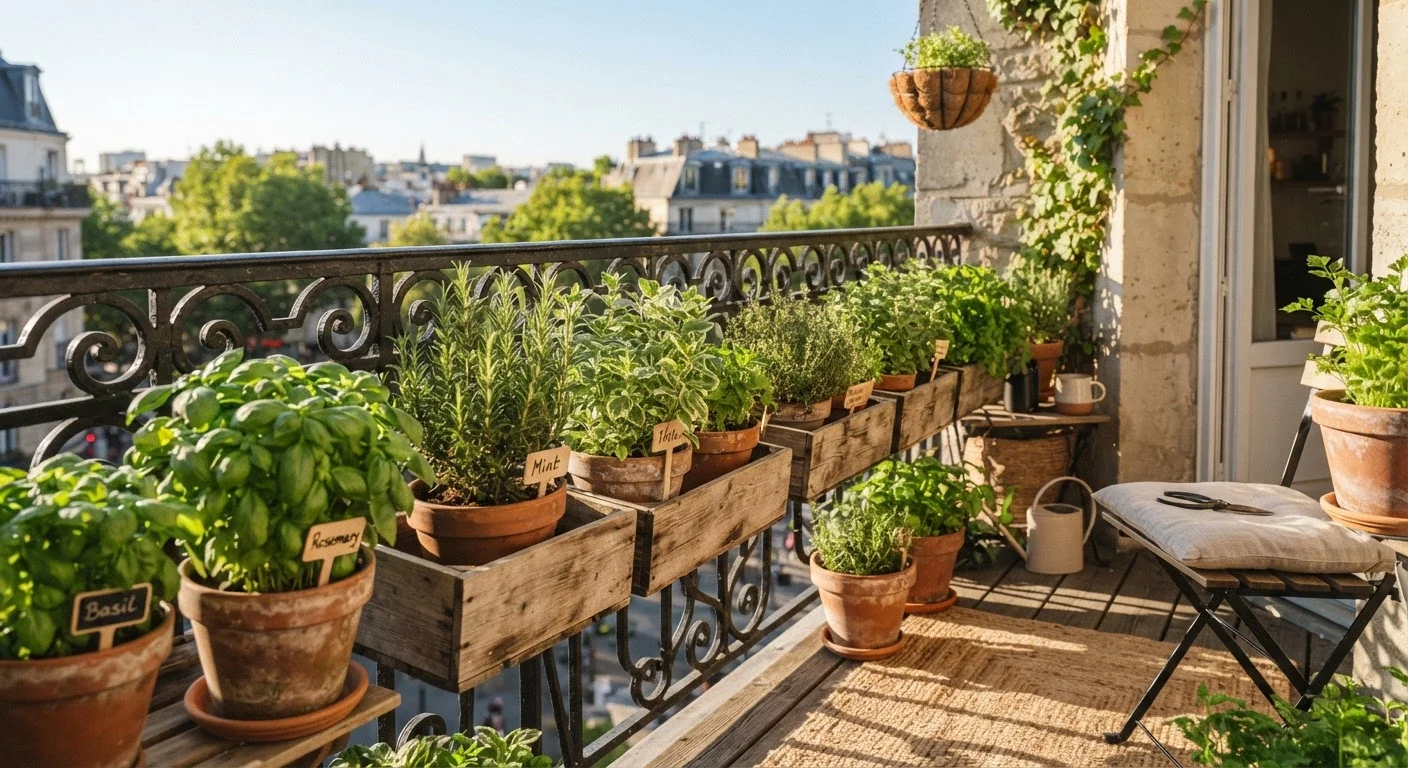
Containers also give you precise control over soil quality, drainage, and placement - all factors that are difficult to manage in a traditional garden. And because most culinary herbs are compact, fast-growing, and highly useful in the kitchen, the return on a small investment of time and money is excellent. You don't need a sprawling backyard to grow rosemary, basil, thyme, or mint successfully - a sunny ledge or balcony railing is often enough.
What you will need
What You'll Need Before You Start
Setting yourself up properly from the beginning makes the difference between herbs that struggle and herbs that thrive. The most common mistake beginners make is underestimating how different container growing is from in-ground gardening - particularly around drainage, watering frequency, and soil choice.
Containers with drainage holes
Hold soil and plants while allowing excess water to escape, preventing root rot.
Quality potting mix
Provides the aerated, nutrient-rich growing medium that container herbs need - garden soil compacts too densely.
Watering can or gentle-spray hose attachment
Delivers water evenly without disturbing shallow herb roots or compacting the soil surface.
Slow-release or liquid fertilizer (edible-plant safe)
Replenishes nutrients that regular watering gradually flushes from container soil.
Saucers or drip trays
Catch runoff beneath containers to protect balcony surfaces and reduce mess.
Small hand trowel
Helps with potting, transplanting seedlings, and mixing amendments into soil.
Plant labels or markers
Keep track of herb varieties, especially when seedlings look similar before they mature.
Keeping costs reasonable is absolutely achievable - starting with just three or four containers and expanding gradually is a smart approach that lets you learn what works in your specific space without a large upfront commitment. For broader budgeting perspective, our budgeting basics hub offers practical strategies if you're planning garden spending alongside other household priorities.
Step-by-Step: Building Your Balcony Herb Garden
Follow these steps in order for the smoothest experience, especially if this is your first season growing herbs in containers. Each stage builds on the last, and skipping ahead - particularly around container preparation and light assessment - often leads to avoidable problems later in the season.
Assess your light conditions honestly
Before buying a single plant, spend a day observing how much direct sunlight your patio or balcony receives. Count the hours the space gets unobstructed sun - most culinary herbs require at least 6 hours of direct sunlight per day to produce well. South- and west-facing balconies typically offer the best conditions; north-facing or heavily shaded spaces may limit you to shade-tolerant options like mint, chives, or parsley.
Choose your herbs strategically
Select herbs you'll actually cook with and group them by their care needs. Mediterranean herbs - rosemary, thyme, oregano, and sage - prefer drier conditions and excellent drainage. Basil and cilantro prefer consistent moisture and warmth. Mint is extremely vigorous and should always be grown in its own dedicated container to prevent it from overtaking neighboring plants. Starting with 3-5 varieties keeps your first season manageable.
Select and prepare your containers
Choose containers that are appropriately sized - most herbs need a pot at least 6-8 inches deep, while larger plants like rosemary benefit from 12 inches or more. Ensure every container has drainage holes. Terracotta pots are breathable and suit Mediterranean herbs well; plastic or glazed ceramic retains moisture longer, which works better for basil or parsley. Fill containers with a quality potting mix, leaving about an inch of space below the rim to make watering easier.
Plant and position your herbs
Plant each herb at the same depth it was growing in its nursery pot. Firm the soil gently around the roots, then water thoroughly until water runs freely from the drainage holes. Position containers where your light assessment showed the most sun. Grouping pots together helps create a slightly more humid microclimate - beneficial during hot, dry stretches - and makes watering rounds faster.
Establish a watering and feeding routine
Container herbs dry out faster than in-ground plants because pots have a limited soil volume and are exposed to air on all sides. Check soil moisture daily during warm weather by inserting a finger about an inch into the soil - water when it feels dry at that depth. Avoid letting pots sit in standing water in saucers for extended periods. Begin feeding with a balanced, edible-plant fertilizer about 4-6 weeks after planting, following product directions carefully.
Harvest regularly to encourage growth
Frequent, light harvesting is one of the best things you can do for a potted herb. Pinch stems just above a leaf node rather than stripping entire branches. For basil, remove flower buds as they appear - a process called deadheading - to keep the plant focused on leaf production. Aim to harvest no more than one-third of a plant's foliage at a time to avoid stressing it.
Monitor for pests and problems
Inspect plants weekly for common container herb pests such as aphids, spider mites, and whiteflies. Small infestations can often be managed by spraying affected areas with a steady stream of water or by hand-removing pests. Yellowing leaves usually indicate overwatering or a nutrient deficiency; leggy, pale growth typically signals insufficient light. Catching problems early keeps them from spreading to neighboring pots.
Keeping Your Herb Garden Productive Season After Season
Once your herbs are established and you're harvesting regularly, a little ongoing attention keeps the garden performing well. At the end of the growing season, tender herbs like basil will not survive frost - harvest them fully before the first cold snap and consider drying or freezing the leaves. Hardy herbs like thyme and rosemary may overwinter successfully in milder US climates if brought under cover or kept in a sheltered spot. Our seasonal checklist for winterizing your garden walks through exactly how to protect plants and set up for a strong return in spring.
If you find yourself bitten by the gardening bug and want to expand beyond herbs, starting a vegetable garden from scratch is a natural next step. You might also explore companion planting combinations to discover how pairing certain plants together can improve your overall results - many of those principles apply equally well to container groupings.
Refresh Your Potting Mix Each Season
Container soil gradually loses structure and nutrients after a full growing season. At the start of each new season, replace at least half the potting mix in your containers with fresh material. This simple step restores drainage, replenishes nutrients, and gives new transplants the best possible start. Spent potting mix can be added to a compost pile - see our guide on composting at home for how to make good use of it.