

Key Takeaways
Why Composting Is Worth the Effort
Composting is one of the highest-return habits a home gardener can develop. It converts material that would otherwise go to landfill - vegetable peels, coffee grounds, fallen leaves - into a rich soil amendment that improves plant health, water retention, and microbial diversity in your garden beds.
Unlike synthetic fertilizers, finished compost feeds your soil broadly rather than delivering a narrow nutrient spike. It improves drainage in clay soils and water retention in sandy ones. If you already pursue organic gardening practices, composting is the logical foundation - reducing chemical inputs while actively building long-term soil health.
The time investment is modest once a system is established: a few minutes of turning and monitoring each week is enough for most home piles.
28%
Share of US landfill waste that is food and yard material
According to the US Environmental Protection Agency, food and yard trimmings together represent roughly 28% of the municipal solid waste stream - most of which could be composted.
2-3 months
Time to finished compost with active management
A well-aerated, correctly balanced pile turned regularly can produce finished compost in as little as two to three months under favorable conditions.
130-160°F
Ideal internal temperature for hot composting
Reaching this temperature range is sufficient to kill most common weed seeds and pathogens, according to US composting extension guidance.
Greens vs. Browns: Understanding the Carbon-Nitrogen Balance
Every composting guide eventually arrives at the same concept: the carbon-to-nitrogen (C:N) ratio. Microorganisms that break down organic matter need both carbon for energy and nitrogen for protein synthesis. Too much carbon and decomposition stalls; too much nitrogen and the pile turns slimy and smells of ammonia.
A practical target for backyard composting is roughly 3 parts brown material to 1 part green material by volume - not a rigid formula, but a useful starting point.
- Browns (carbon-rich): dry leaves, cardboard torn into small pieces, straw, wood chips, paper bags, newspaper
- Greens (nitrogen-rich): vegetable and fruit scraps, fresh grass clippings, coffee grounds, tea leaves, plant trimmings
When you add a bucket of kitchen scraps (greens), follow it with two to three handfuls of dry leaves or torn cardboard (browns). This simple habit keeps the balance on track without any measuring.
Keep a small container with a tight-fitting lid near your kitchen sink to collect scraps throughout the week - empty it into the main pile every two to three days to avoid odor buildup indoors.
Short-term indoor collection reduces the number of trips to the pile and keeps kitchen workflow uninterrupted, making composting a habit rather than a chore.
Stock a bag or bin of dry leaves right next to your compost pile in fall so you always have browns on hand to layer over green additions year-round.
Having browns immediately available is the single most common barrier to maintaining a proper C:N balance - removing that friction makes consistency effortless.
What to Compost - and What to Leave Out
Understanding what belongs in your pile protects both its performance and your household's safety.
Safe to compost
- Fruit and vegetable scraps (including citrus, in moderation)
- Coffee grounds and paper filters
- Loose-leaf and bagged tea
- Eggshells (rinse them first)
- Grass clippings not treated with persistent herbicides
- Fallen leaves, garden trimmings, and spent plants free of disease
- Plain paper, cardboard, and newspaper (remove plastic tape)
- Wood ash in small quantities
Leave these out
- Meat, fish, and bones - attract pests and create odor
- Dairy products and oily foods - same issue
- Pet or human waste - pathogen risk in a standard backyard pile
- Diseased plant material - pathogens may survive if the pile doesn't reach sufficient temperature
- Invasive weeds that have gone to seed
- Treated wood or glossy/coated paper
Avoid These Common Problem Additions
Meat, dairy, and oily cooked foods are the most frequent cause of pest problems and foul odors in backyard compost bins. Diseased plant material - such as tomato plants showing blight - should go in the trash, not the pile, unless you can confirm your pile consistently reaches the heat levels needed to neutralize pathogens. When in doubt, leave it out.
Choosing and Setting Up Your Composting System
The right composting setup depends on space, the volume of material you generate, and how hands-on you want to be.
Open pile or bin
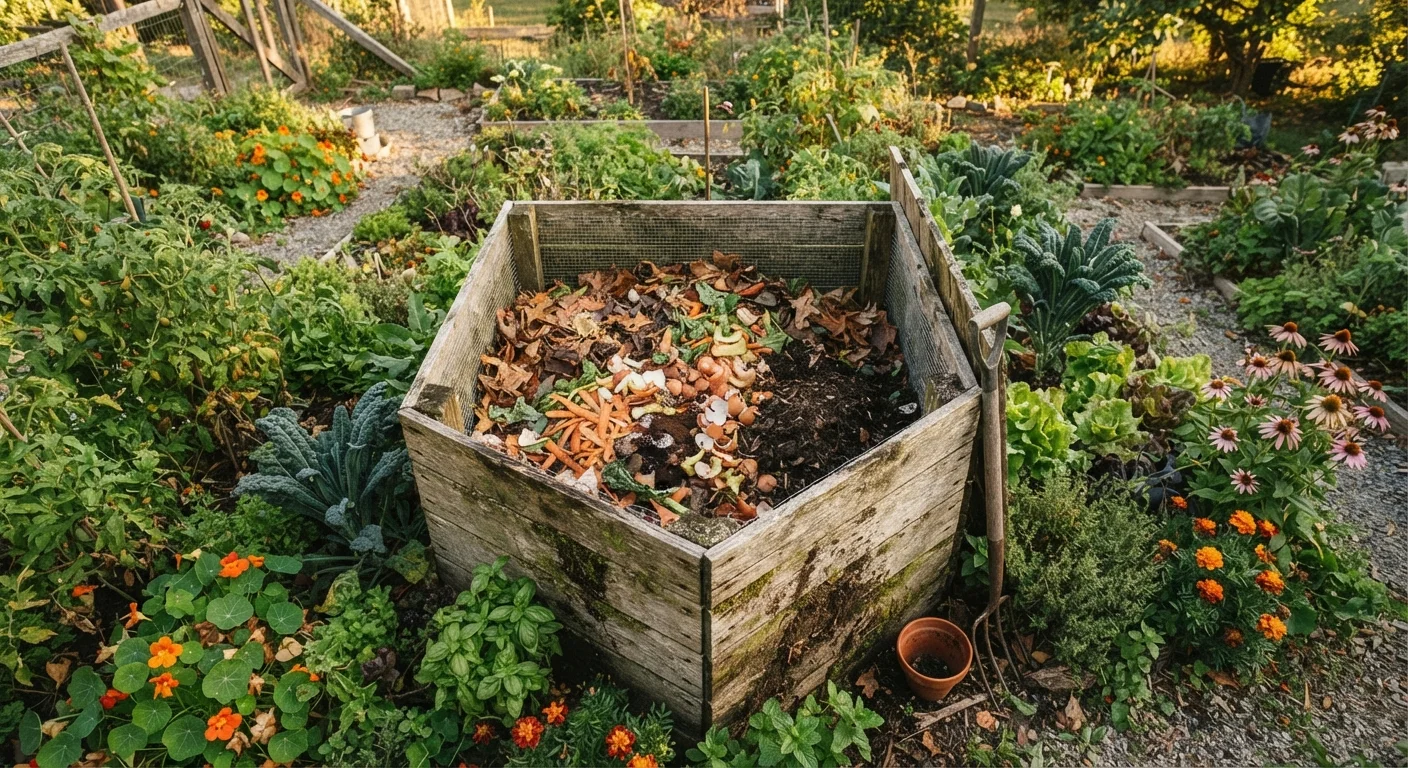
The simplest option is a freestanding pile in a corner of the yard, ideally at least 3 feet in each dimension - enough mass to generate heat. A three-sided wooden enclosure or purpose-made plastic bin contains the pile neatly and retains moisture more effectively.
Tumbler composters
Rotating drum tumblers keep pests out and make turning easier, but they work best when loaded in batches rather than continuously added to. They are well-suited for smaller yards or households with limited garden debris.
Worm bins (vermicomposting)
Red wiggler worms (Eisenia fetida) process kitchen scraps efficiently in a contained bin, making vermicomposting a viable option for apartment dwellers or those without yard space. The resulting castings are especially nutrient-dense. Note that worm bins need to stay within a moderate temperature range - not too hot, not below freezing.
Placement tips
- Choose a level spot with partial shade to prevent excessive drying in summer.
- Place on bare soil rather than concrete so beneficial organisms can enter from below.
- Keep it reasonably close to where you generate materials and where you'll use finished compost.
Managing Your Pile: Moisture, Aeration, and Heat
Once your pile is built, three variables determine how quickly it converts to finished compost: moisture, oxygen, and particle size.
Moisture
The pile should feel like a wrung-out sponge - damp but not dripping. In dry climates or summer heat, cover the pile with a tarp or lid and water occasionally. In wet climates, covering prevents waterlogging that drives out oxygen and slows decomposition.
Turning and aeration
Turning introduces oxygen, which aerobic microbes need to do their work efficiently. A pile turned every one to two weeks can produce finished compost in two to three months. A pile left untouched may take six months to a year, but it will still decompose - just more slowly.
Heat and particle size
An active pile reaches internal temperatures between 130°F and 160°F (54°C-71°C), which kills most weed seeds and pathogens. Shredding or chopping materials before adding them dramatically increases surface area and speeds breakdown - large, whole items like melon rinds or thick cardboard decompose much more slowly than smaller pieces.
Troubleshooting Common Compost Problems
Even well-managed piles run into issues. Most have straightforward solutions.
Pile smells like ammonia or rotten eggs
Ammonia odor indicates excess nitrogen (too many greens) or a pile that is too wet and anaerobic. Add dry browns and turn to introduce air. A sulfur smell signals anaerobic conditions - again, turn the pile and add browns.
Pile isn't heating up
This usually means the pile is too small, too dry, or lacks nitrogen. Add green material, moisten, and turn. If the pile is large enough and still won't heat, check that you aren't overly dominated by slow-to-break-down woody material.
Pests and rodents
Avoid adding meat or cooked food. A hardware cloth floor beneath an open pile and a secure lid significantly reduce pest access. Burying fresh kitchen scraps in the center of the pile rather than leaving them on top also helps.
Pile is full of flies
Fruit flies are common and mostly harmless but can be reduced by always covering fresh greens with a layer of browns. Avoid leaving food scraps exposed on the surface.
Using Finished Compost in Your Garden
Finished compost is dark brown to black, has a pleasant earthy smell, and crumbles easily in your hand. You shouldn't be able to identify the original materials.
How to apply it
- Soil amendment: Work 2-4 inches of compost into the top 6-8 inches of a new or established bed before planting.
- Top dressing: Apply 1-2 inches around existing plants and let it work down with watering - good for perennials and shrubs mid-season.
- Potting mix ingredient: Blend finished compost with topsoil and a drainage component like perlite for container growing. See how compost pairs with container herb growing in our guide to growing herbs on a patio or balcony.
- Lawn topdressing: A thin layer (¼ inch) worked into the turf in fall or early spring improves soil biology under grass.
It's also worth understanding how compost differs from mulch - two amendments often confused. Our compost vs. mulch guide explains when each is appropriate. When planning your fall garden prep, adding a fresh layer of compost before winter is one of the highest-impact steps you can take - see our seasonal winter preparation checklist for a full task list. And if you're exploring which plants benefit most from compost-enriched beds, pairing that knowledge with companion planting strategies can further amplify your results.